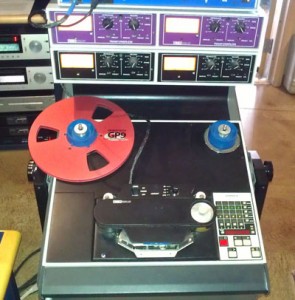
Setting Up Your Studio to Work Efficiently for Tape Recording
 Now that you have your tape deck and have completed the basic maintenance on it you can take a look at the gain-staging of your whole recording setup. Most professional studio equipment is designed to operate at a nominal +4dBu; when a VU meter on your tape deck or console reads “0″ VU with a steady test tone, the level at the input and output is +4dBu or 1.22 Volts. Since VU meters are relatively slow, fast transients will not register fully on a VU meter. You must leave sufficient headroom to insure that devices downstream are not overloaded. So you should calibrate your A/D converters so that a nominal level on the VU meters of your tape machine (or console) does not overload the converters. My mastering studio is calibrated for 0 VU = -14 dBFS, or 14dB below digital zero. For tracking and mixing, this might be too high. You will be safe if you calibrate in the range of 0 VU = -16 to -20dBFS. Similarly, calibrate your D/A converters so that your chosen operating level = 0 VU.
Most professional converters and interfaces will already be calibrated to a known level, which will probably work fine in your studio. With proper calibration you will be able to convert from analog to digital and back with confidence that both your analog and digital recording levels are where they should be. This will be independent of your tape operating level, which you can choose based on the tape stock you are using, and how much (or little) tape saturation you want.
Preparing Your Tape Recordings for the Next Engineer
You should always record alignment tones on your tapes. These will be used by the next person who plays them to calibrate their tape machines.
Alignment tones are recorded from an oscillator, or you can use the built-in signal generator in Pro Tools if you don’t have an external oscillator.
Print the tones at the head of Reel 1 during your pre-session alignment procedure. Tones should be at 0 VU. At a minimum, record 1k, 10k, 15k, 100Hz and 50 Hz tones – 30 seconds of each. If you are using Dolby A or SR noise reduction print the tones with the Dolby units bypassed, then print the Dolby A Tone or Dolby SR Noise signal. Your mastering engineer will thank you if you legibly fill out the tape box label with all takes, times, and notes, and leader each take with leader tape (but leave a couple seconds of tape before and after each take).
I hope you learned something from this series and are ready to start recording on analog tape!
Also see Part 1: What to Know Before You Buy and Part 2: How to Keep Your Tape Deck in Top Condition
